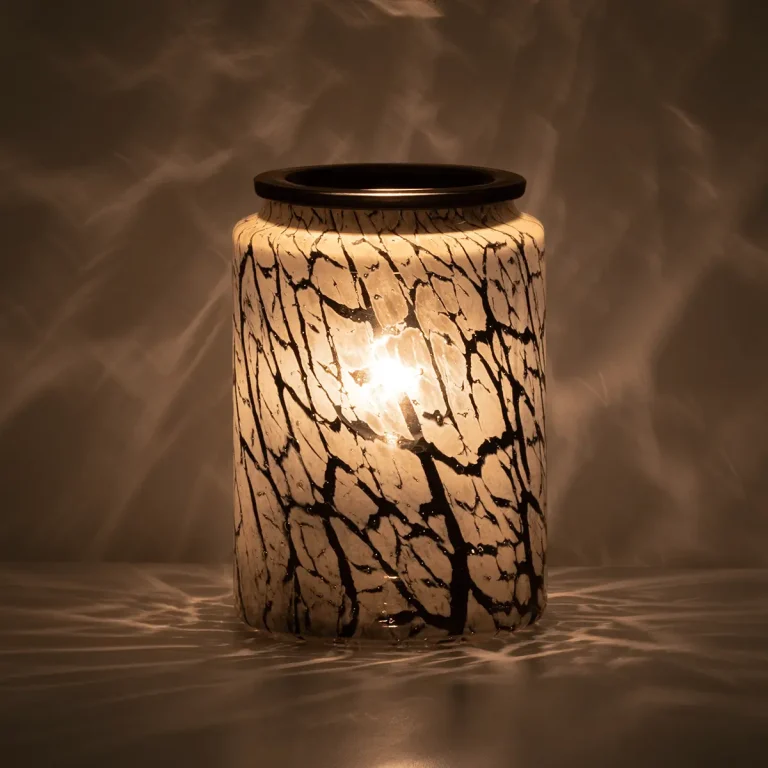
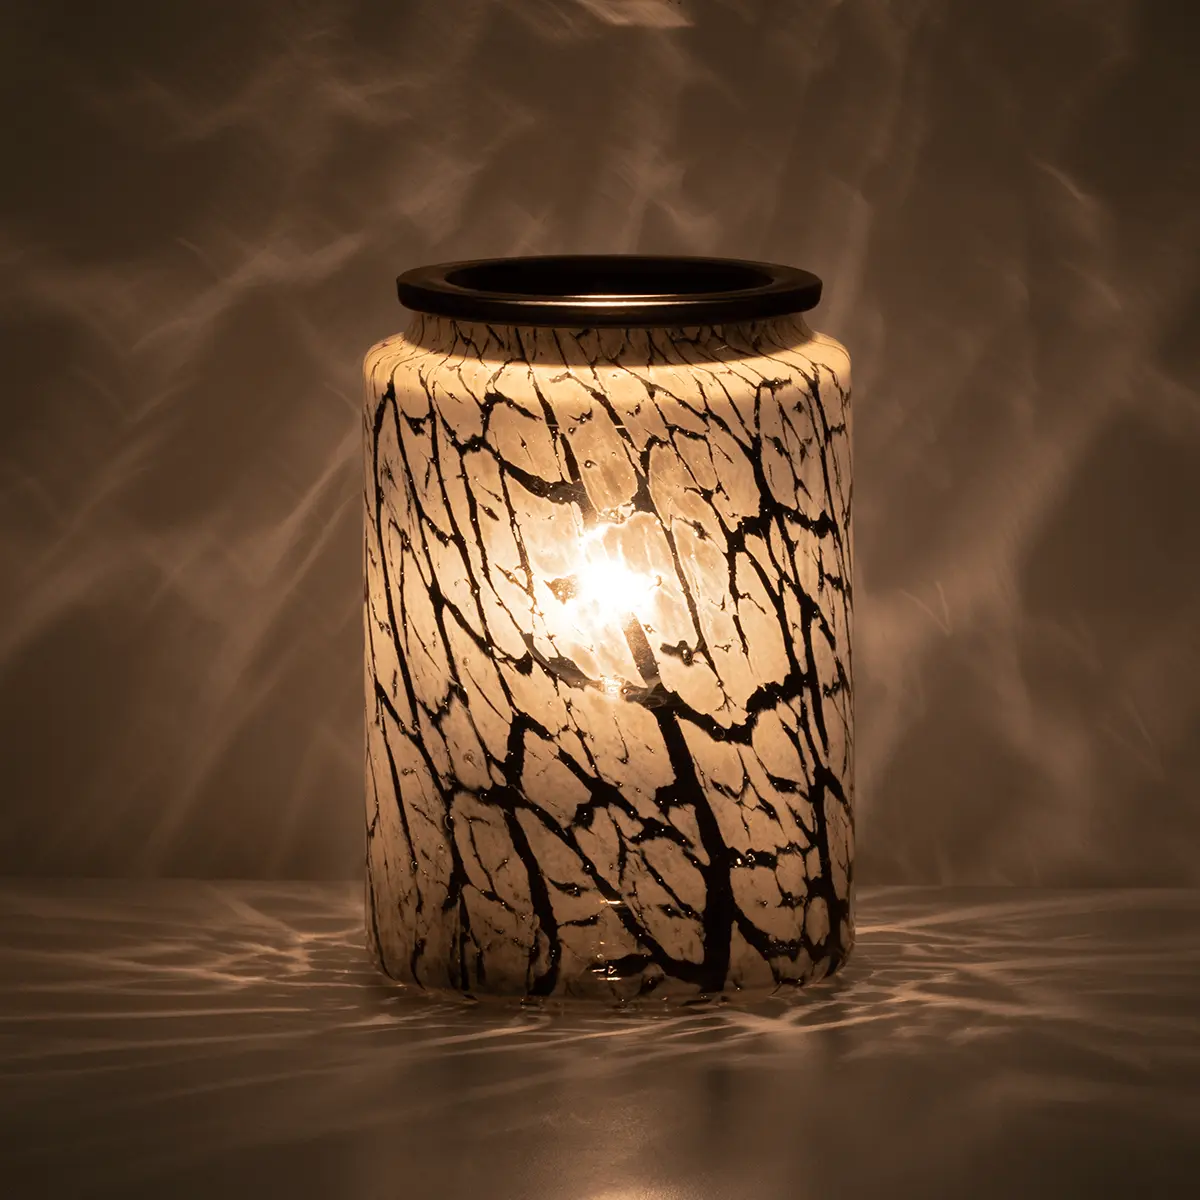
How to Change the Wax in a Glass Wax Warmer: Simple Steps
Changing the wax in a glass wax warmer is a straightforward process that requires a few simple steps. Proper maintenance of your wax warmer is essential to ensure its longevity and optimal performance. By following these instructions, you can easily replace the wax and keep your glass wax warmer in top shape.
One method to change the wax is the traditional hot method. If the wax in your warmer is melted, you can use Scentsy cotton cleanups to absorb the liquid wax. Dispose of these appropriately to avoid any mess.
Key Takeaways:
- Regularly maintaining your glass wax warmer is crucial for its proper functioning.
- If the wax is melted, absorb the liquid wax with Scentsy cotton clean ups
The Traditional Hot Method
The traditional hot method is a popular way to change the wax in a glass wax warmer, and it can be used in different situations. To start, if the wax is melted, you can use Scentsy cotton clean ups to absorb the liquid wax and dispose of them. This helps to clean the warmer and prepare it for fresh wax.
“The traditional hot method is a simple and effective way to change the wax in a glass wax warmer. These steps will help you maintain a clean and fresh wax warmer.”
After removing the wax, it’s important to clean the glass dish of the wax warmer. You can wipe it with a paper towel to remove any residue, ensuring a clean surface for the new wax. This step helps to prevent any unwanted mixing of scents and ensures a better fragrance experience.
By using the traditional hot method, you can easily change the wax in your glass wax warmer. When you need to remove melted wax these simple steps will help you maintain a fresh and fragrant atmosphere in your home.
| Advantages | Disadvantages |
|---|---|
| Effective for melted wax | Requires heating of the wax if it has cooled and hardened |
| Easy to perform with everyday household items | |
| Helps maintain a clean wax warmer for better fragrance |
Summary:
With these simple steps, you can maintain your glass wax warmer and enjoy a fresh and fragrant wax experience every time.
After removing the wax, it’s important to clean your glass wax warmer. Use a paper towel to wipe away any residue or leftover wax. If necessary, you can also use a mild soap and water solution to clean the warmer. However, make sure to thoroughly dry the warmer before using it again to prevent any accidents or damage.
| Advantages | Disadvantages |
|---|---|
| Easily removes solidified wax | May not be effective for melted wax |
| Convenient and efficient | Requires a ribbon or string |
| Helps maintain a clean wax warmer | Does not work well with certain wax warmers or dish materials |
Conclusion
Changing the wax in your glass wax warmer is a simple task that can greatly enhance your wax melting experience. By following a few easy steps, you can maintain your wax warmer effectively and ensure that it continues to provide you with the delightful fragrance you love.
If you’re using the traditional hot method, remember to use Scentsy cotton cleanups to absorb the melted wax and dispose of them properly. This method is quick and convenient for regular wax changes.
By regularly changing the wax in your glass wax warmer, you can maintain its cleanliness and efficiency. Remember to follow these simple steps and enjoy a fresh and delightful wax melting experience every time.
FAQ
Q: How do I change the wax in a glass wax warmer?
A: To change the wax in a glass wax warmer, there are several simple steps you can follow. The first method is the traditional hot method. If the wax is melted, use Scentsy cleanups to absorb the liquid wax and dispose of them.
Q: What is the traditional hot method?
A: The traditional hot method is one way to change the wax in a glass wax warmer. If the wax is melted, you can use Scentsy cotton cleanups to absorb the liquid wax and dispose of them.